TEAR OUT RIBBON PANEL & APPLYING COLOR TO LINKED MODEL WORKSETS
TEAR OUT RIBBON PANEL
RIBBON PANEL
When you have a low-resolution screen or need some tools that are always available, then tearing out the ribbon panels can help.
Low resolution screen your ribbon could look like this where some functions just show a icon

How your ribbon should look like where everything is expanded

This is helpful if you are using different functions in different categories and want to have them readily available on your screen. Its especially helpful when you have multiple monitors to place theses frequently used ribbons.
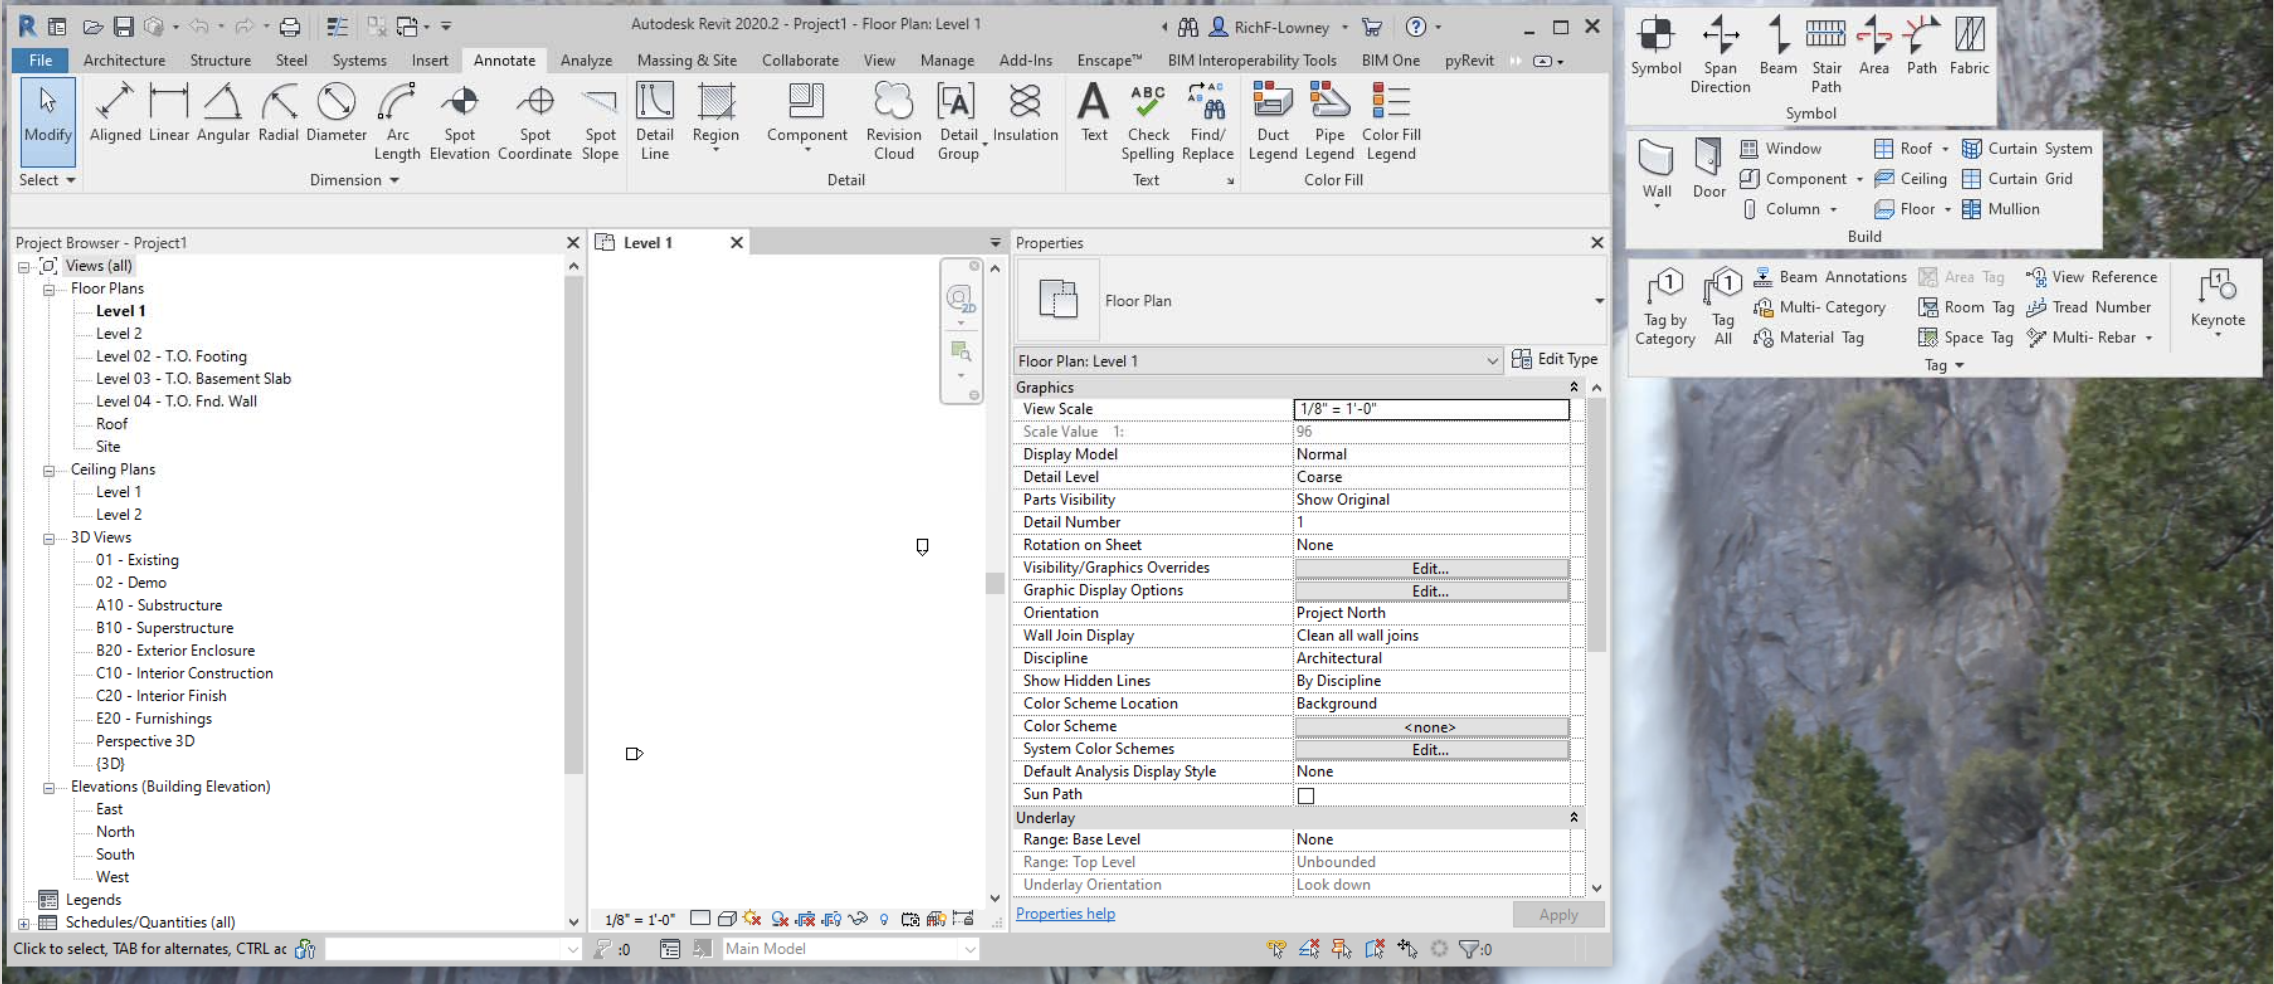
In order to drag these ribbons out just click on the subcategory and drag the ribbon off the screen.
Once these ribbon are dragged off to the side they will stay off there.
Revit will remember this on your next session.
If you would like the section to return to the ribbon just hover/click on the section and a side panel will appear on the left to return to ribbon.
APPLYING COLOR TO LINKED MODEL WORKSETS
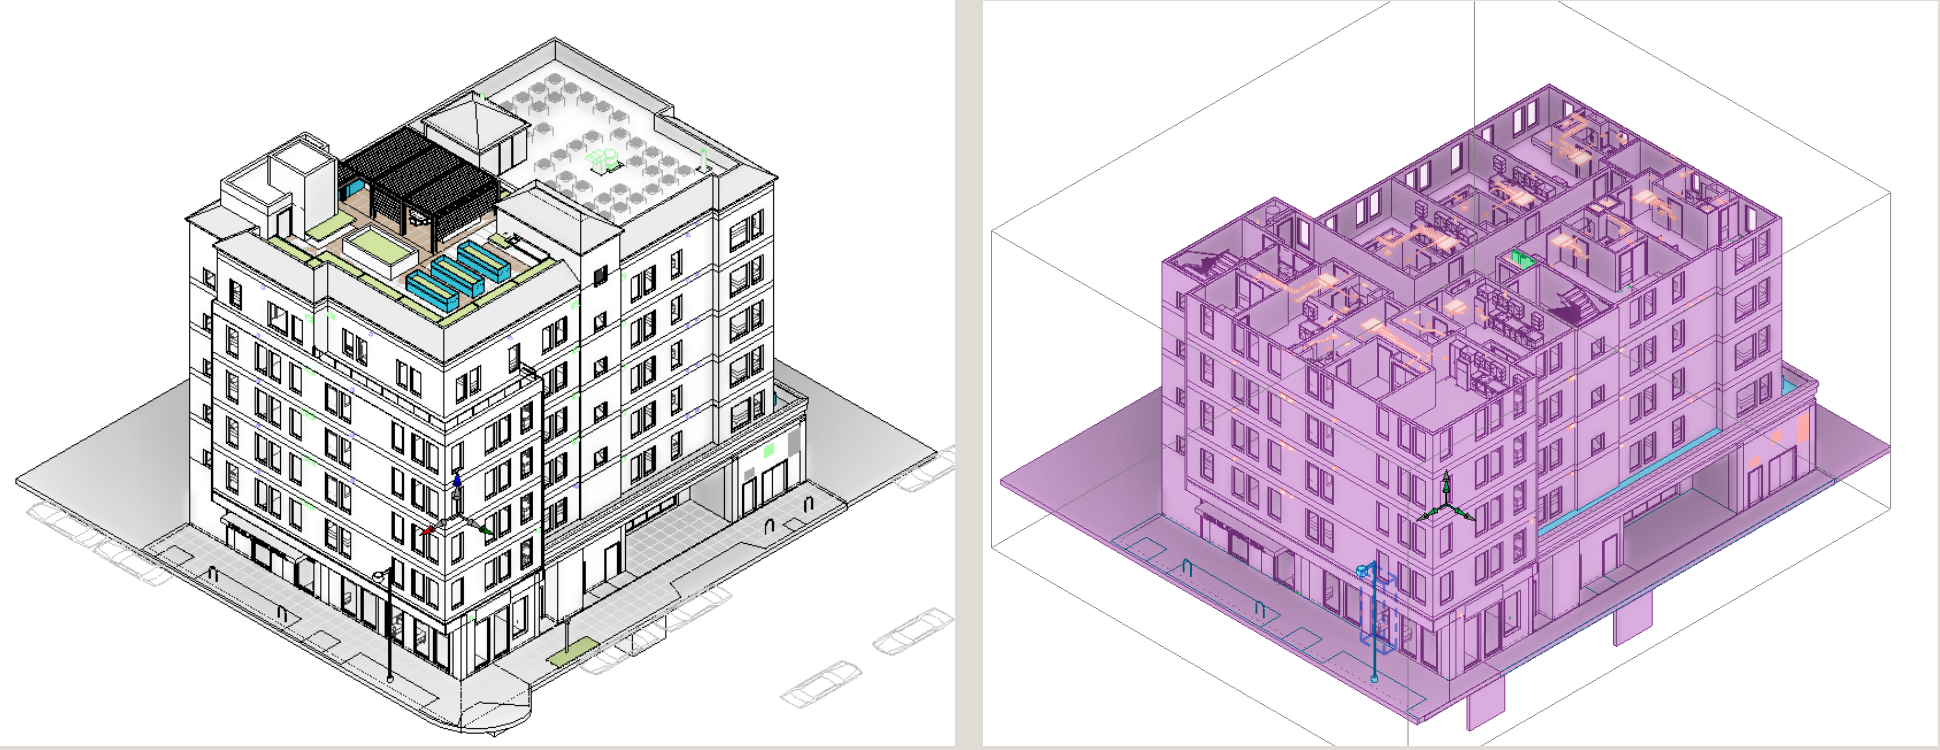
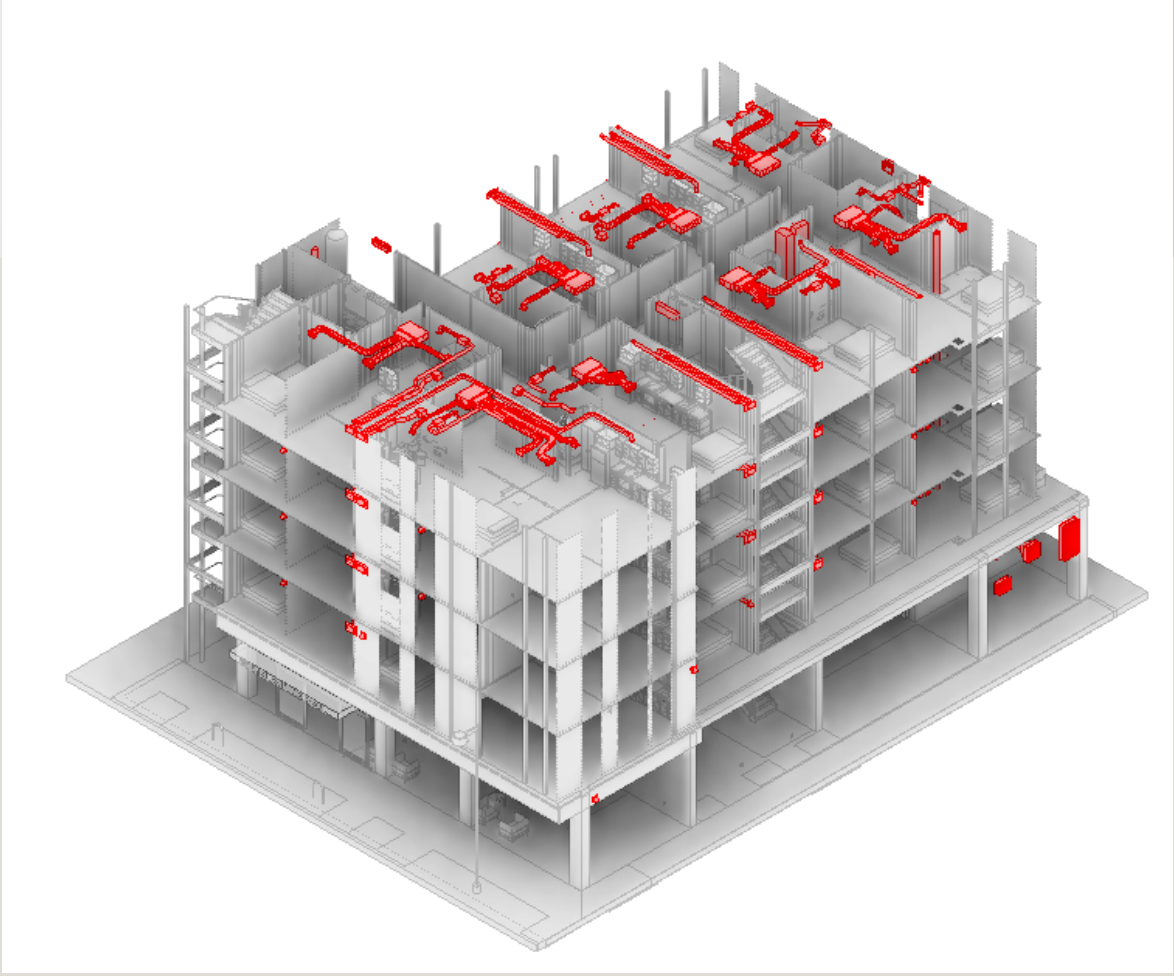
LINKS SHOWN WITH COLOR
When linking in Revit files and putting them on separate worksets you're able to control the visibility of these certain links with ease.
This is especially helpful when visually coordinating between disciplines
SELECTING COLORS
Create a 3d view
View Template – 3D Default View_ Working
Set view to Consistent Colors
Select worksharing
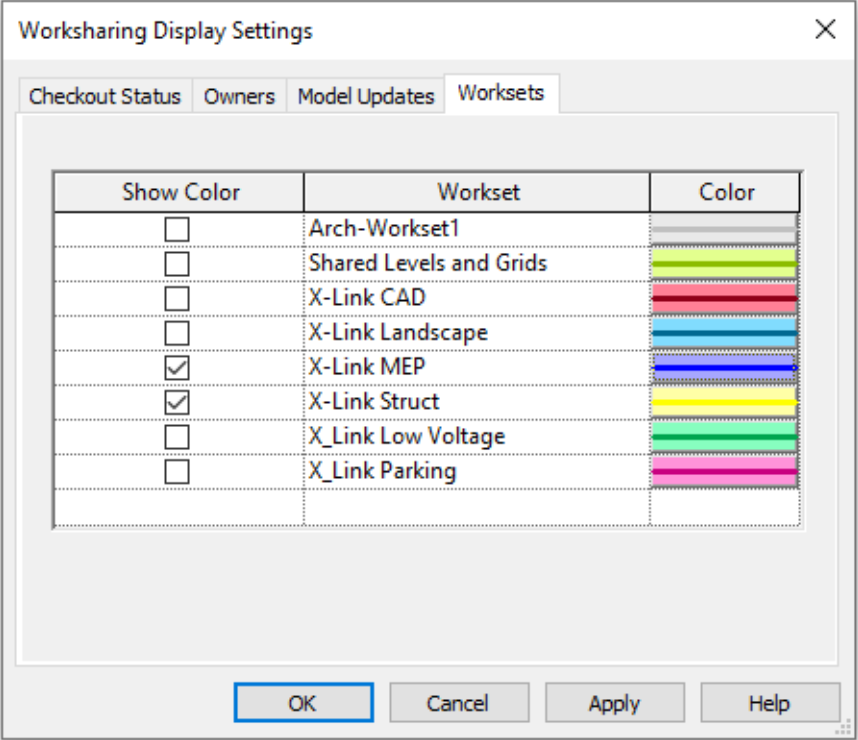
SETTINGS
Select Worksharing Display Settings
For each workset select a color
If named following our standard it should be easy for you to know which workset controls what
Next under show color click on the worksets you want to show and compare
Click apply and OK